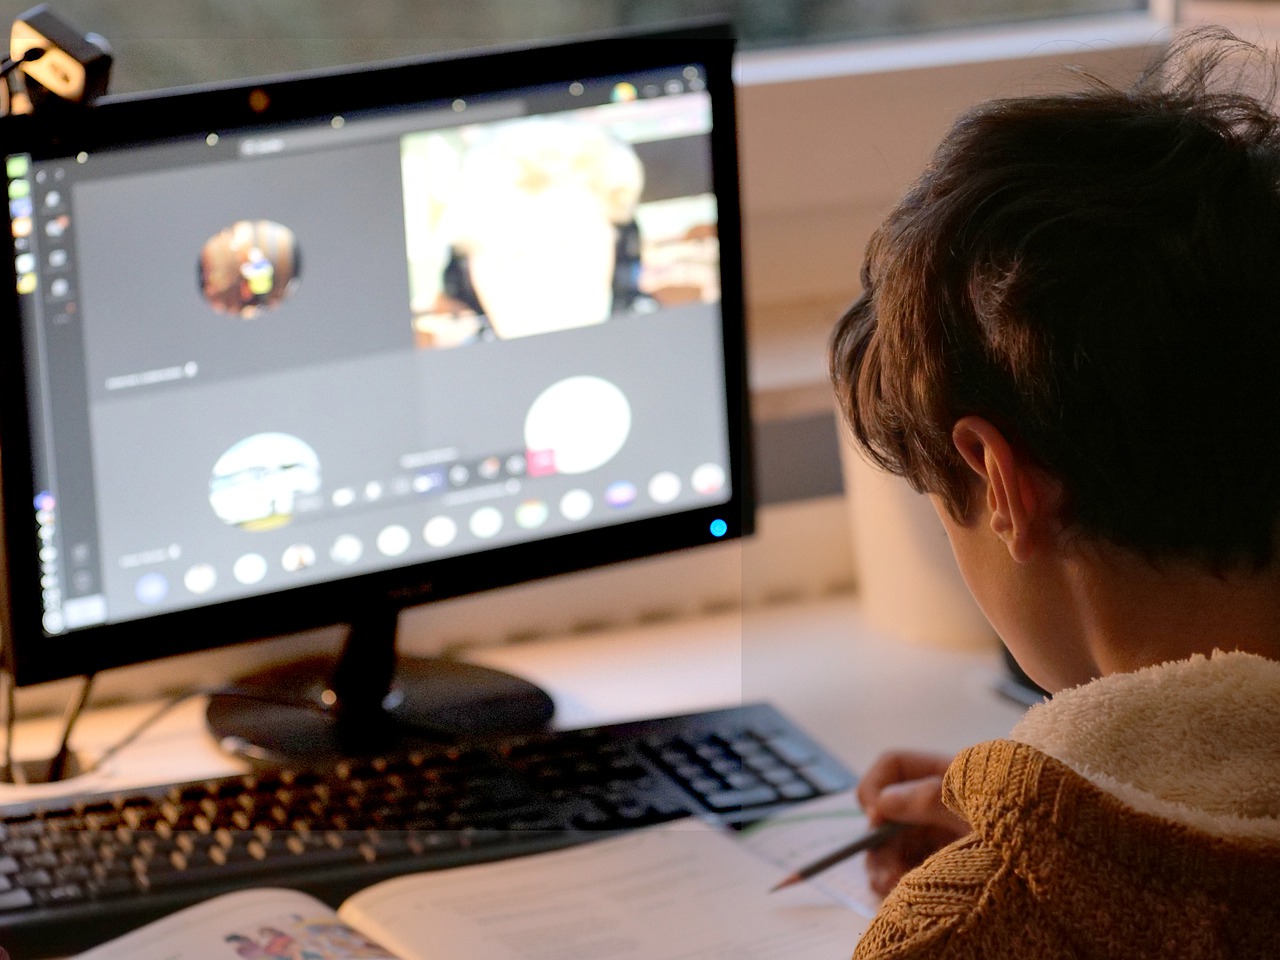
Google Meet or Hangouts Meet (as previously known) is an effective tool for teaching your students with or without video. The video conferencing tool allows you to administer lessons, record your sessions, and share important slides with your students. However, most educators are yet to master the art of using Google Meet for effective instruction of students. This resource will take you through the most important tips that you can apply when using Google Meet for the best learning experience.
1. Use Captions in Videos for Better Understanding
Using captions in your video is one of the best ways to get your points across. Google Meet’s caption tool displays a text of your conversations on the screen so that students can confirm what you are saying. You can display the captions in:
- English
- German
- French
- Portuguese
- Spanish
However, you should know that the available language is dependent on your location. To turn on captions, begin your video meeting and click the caption knob labeled ‘CC’ at the bottom of the platform. You can change the language of the captions by opening the menu and clicking caption, then caption language. However, If you’re using google meeting, the captions will only be available in English. A comparison of Google Meet Vs. Zoom indicates that the latter requires a third-party app to allow captioning. This makes Google Meet the best e-learning option.
2. Present During a Google Video Meeting
Google Meet video allows you to present during a video meeting. You can use this feature to explain your topics further and make the e-learning lesson more entertaining.
You can choose to present a specific window of your screen or the entire meeting. However, the e-learning tool only allows you to simultaneously share up to 10 presentations or slides.
Open a Google Meet video call and click the upward arrow to begin your presentation. Once the dialogue window comes up, you can choose a window, your entire screen, or a tab. Finish by clicking share.
While presenting during a Google video meeting, you can apply the following tricks for the best experience:
- Only share a select tab or a new window to prevent screen mirroring.
- You must select the share tab to share your audio if you want to explain the presentation.
- If your camera is on, your video will be active during the presentation, so turn it off for incredible results.
3. Record Your Live Google Meet Videos for Recap
Recording the Google Meet video is the best way to go through your current live meeting later. Fortunately, Google Meet has an option that allows you to record the Google Meet video and save it on your computer.
This is with the assumption that you are the administrator. In case you are not, you will have to ask the administrator to turn on recording so that you can use the Google Meet video record function. Furthermore, anyone who joins only to present cannot make recordings.
To begin recording, open Google Meet video and click activities. After that, click recording, then start recording. You can then click stop recording once you finish. Note that the recording can also stop once every participant leaves the group. After recording, click the menu button on the file and select download to save the recording for future use.
4. Keep The Class Acting Using a Whiteboard – Jamboard
Recently, the Google team unveiled multiple Google Meet video features, most of which you can use to make the e-learning experience amazing.
One of the top features added is a collaborative whiteboard, otherwise known as Jamboard. The whiteboard allows every member in your class to participate in the meeting, making it lively.
To open a whiteboard on your Google Meet video, check the bottom of your Google Meet interface and click activities. Proceed to select Whiteboarding and decide whether you want to create a new Jam or share an existing Jam.
Once the Jam is up, everyone will get a link to the tab on the Meet Chat. However, if someone joins after opening the Jam, you will have to share the link with them to access the Jam. Anyone at the meeting can add items or edit the Jam in real-time. Once you are done using the Jam, the system will save it in ‘my drive’ if you want to access it later.
Note that people outside the meeting cannot access the Jamboard not unless you add them manually. The whiteboard feature is one of the best additions to Google Meet that make e-learning amazing.
All these tips are meant to increase interactivity during your distance learning. They also make sure you have absolute control of your lectures. However, you should know when to apply a feature and make it work effectively. Follow the steps provided when you decide to use a select feature on your Google Meet videos with your students.


